Window screens keep out the bugs while allowing your home’s occupants to enjoy fresh air all day and night. If your screens have seen better days, June is ideal for your screen cleaning, repair and replace project. You’ll need a screen patch kit or a length of screening.
Plastic replacement screen is sold by the yard so it can be quite economical to fix a small hole or replace an entire screen. The screen should be at least 250 holes per square inch to keep mosquitos out.
Aluminum or steel screens can be patched but if you’re replacing them consider using newer plastic-based screens for easy maintenance. They don’t require any painting to keep them rust-free. Hardware stores will sell you cut-to-fit frames and the supplies required.
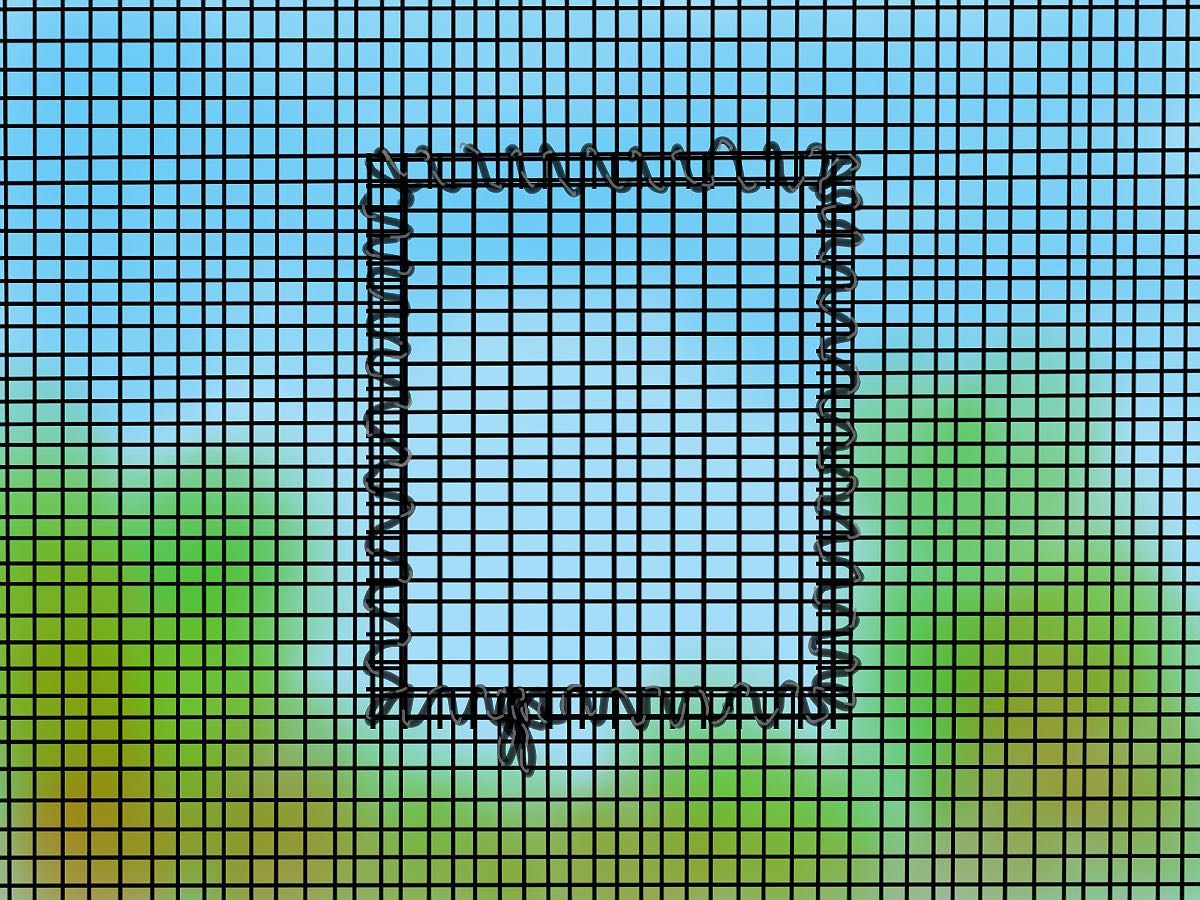
You’ll also need some polyester or polymer-based thread that matches the colour of the screen and a large sewing needle. You can also use clear silicone to glue the patch over the hole. Use a toothpick to clean the individual holes so the patch will be invisible. Allow to dry with some weight on the patch. Use a little wax paper to keep the weights from sticking to the repaired area.
Begin by trimming any frayed or curly edges that will be difficult to conceal or lay flat. Once the hole is clean, trim a piece of screen to fit with an overlap of approximately half an inch or 1.5cm. Use the poly thread to sew the patch into place. If you feel creative, you may want to draw attention to your thread-work with a design, such as a flower or an interesting insect shape. This is a fun project for older kids to help with when summer boredom sets in.
Replacing screens is an easy DIY project. Remove the screen frame from the window and look for a channel that runs around the perimeter. Inside the channel, you’ll find a rubber string that hold the screen in place. Simply pry out the rubber and remove from the track. It may need to be replaced if the natural elasticity is gone.
Cut a length of screen with at least two inches or 5cm of overlap from the edge of the frame. Re-insert the rubber string, starting at the top and working in a clock-wise direction. The first two edges will go fairly easily. When you reach the bottom and opposite side of the frame, be sure to keep the screen material in tension so there won’t be any wrinkles or excessive slack when you’re done. You may want to enlist a helper for this part. Working in the rubber holder channel, trim the excess with a razor blade. Be careful not to cut into the rubber string.
Using this technique, you can repair and replace all the screens at home and the cottage. Your windows will look better and bugs will be kept outside, where they belong.
We are window screen specialists. Contact us today for window washing, screen washing, and replacement.